
360° photos put your subject in a new light. I’ll show you how to build a 360° camera mount for your GoPro and take 360° photos of your favorite place. You don’t need a professional 360° camera.
content
360° photography
You can also create a 360° shot with a normal GoPro and ultimately any other camera. To create a shot, photos are taken in all directions of the sky and then stitched together to create a 360° photo. A GoPro offers the advantage of a fisheye lens here. Because of the strong wide angle, fewer photos need to be taken for a 360° shot. This saves time.
Since taking photos is very time-consuming, I was inspired by Pixelmagic and its Full automatic 360° panorama V2 GoPro mount to design and program my own version of its 360° camera mount for the GoPro Hero 7.
Instruction
The following links refer to stores where I bought the materials. I do not receive any commission or other consideration!
Materials
- 3D-printed parts from Printables The tripod mount is optional. You need to pause the print for the tripod mount to a nut for the tripod. It can be simply plugged to the electronics box if needed. Attention: Apparently the dimensions of the boards vary between the NodeMCU and the driver board. Editable .step files of the box are therefore also available on Printables.
- NodeMCU ESP8266 WiFi-Modul
- Steppermotor 28BYJ-48 with ULN2003 Driver board
- Microservo
- some cable for example Breadboardcable
- Micro button
- USB to Micro USB cable
- 3x screw 3mm diameter
Function of the camera mount
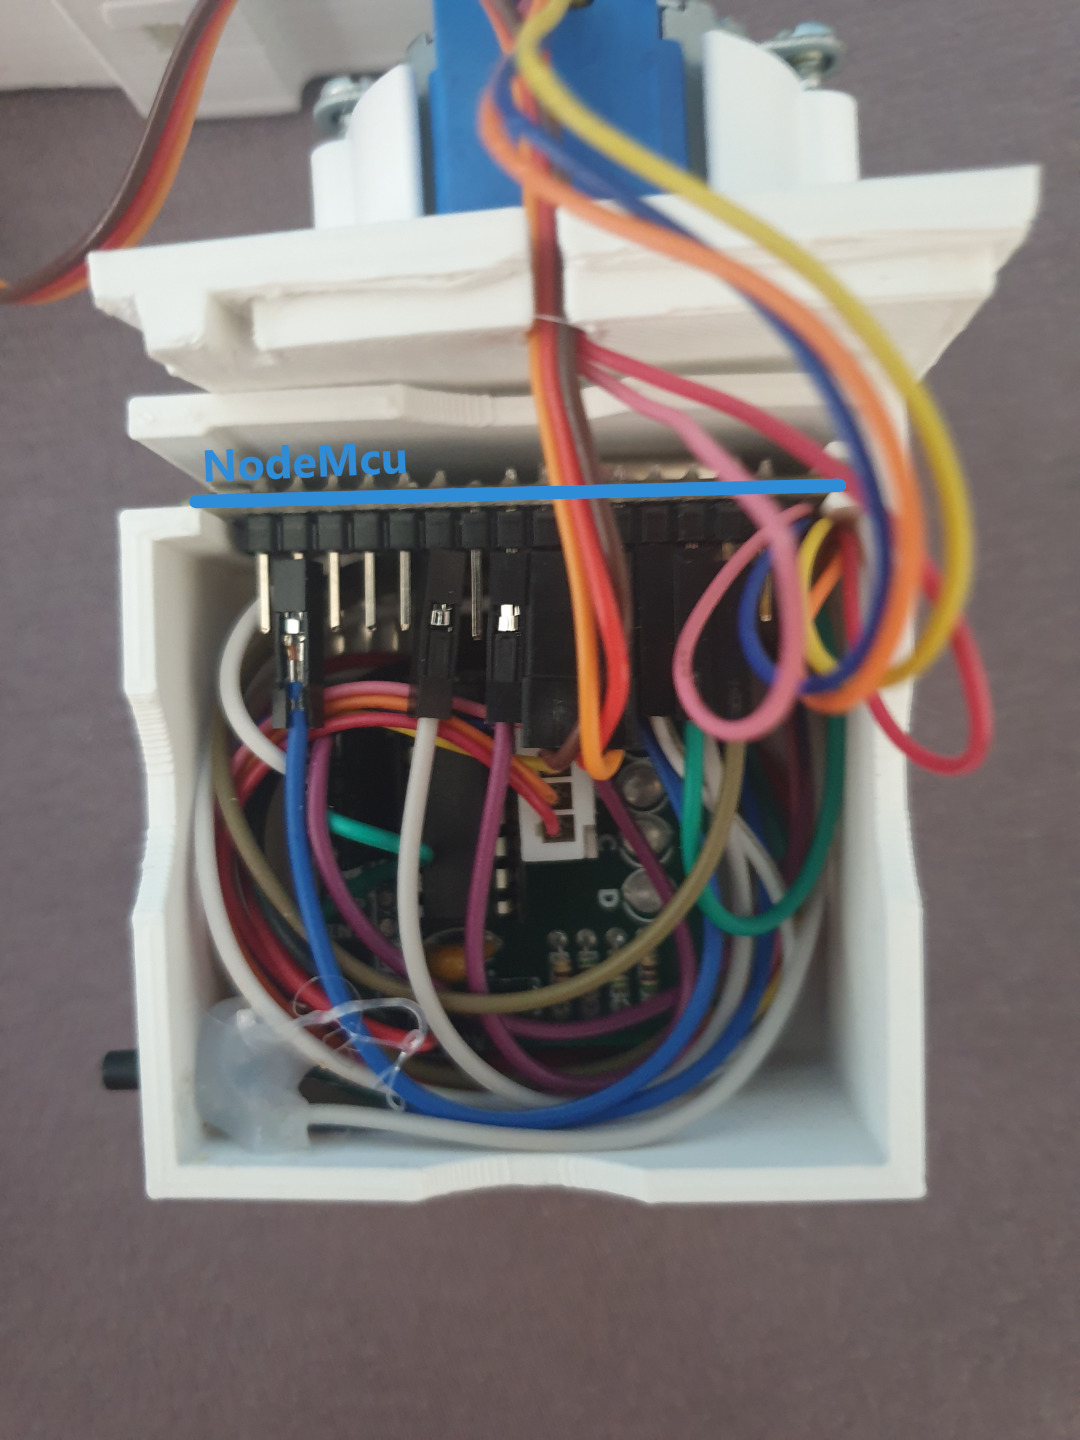
The camera mount is controlled by an ESP8266 microcontroller on a NodeMCU board. The microcontroller controls the stepper motor and servo on the one hand, on the other hand the ESP8266 sends commands via WLAN to the camera.
The photos of the camera are then stitched in a second step.

Unfortunately, the GoPro or the microcontroller loses the WLAN connection after a 360° photo and the battery has to be removed from the GoPro and reinserted. I have not been able to solve this error yet. If you know where the problem is, feel free to write it in the comments!
Assembly
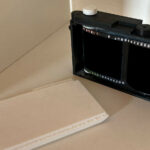
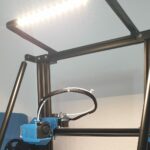
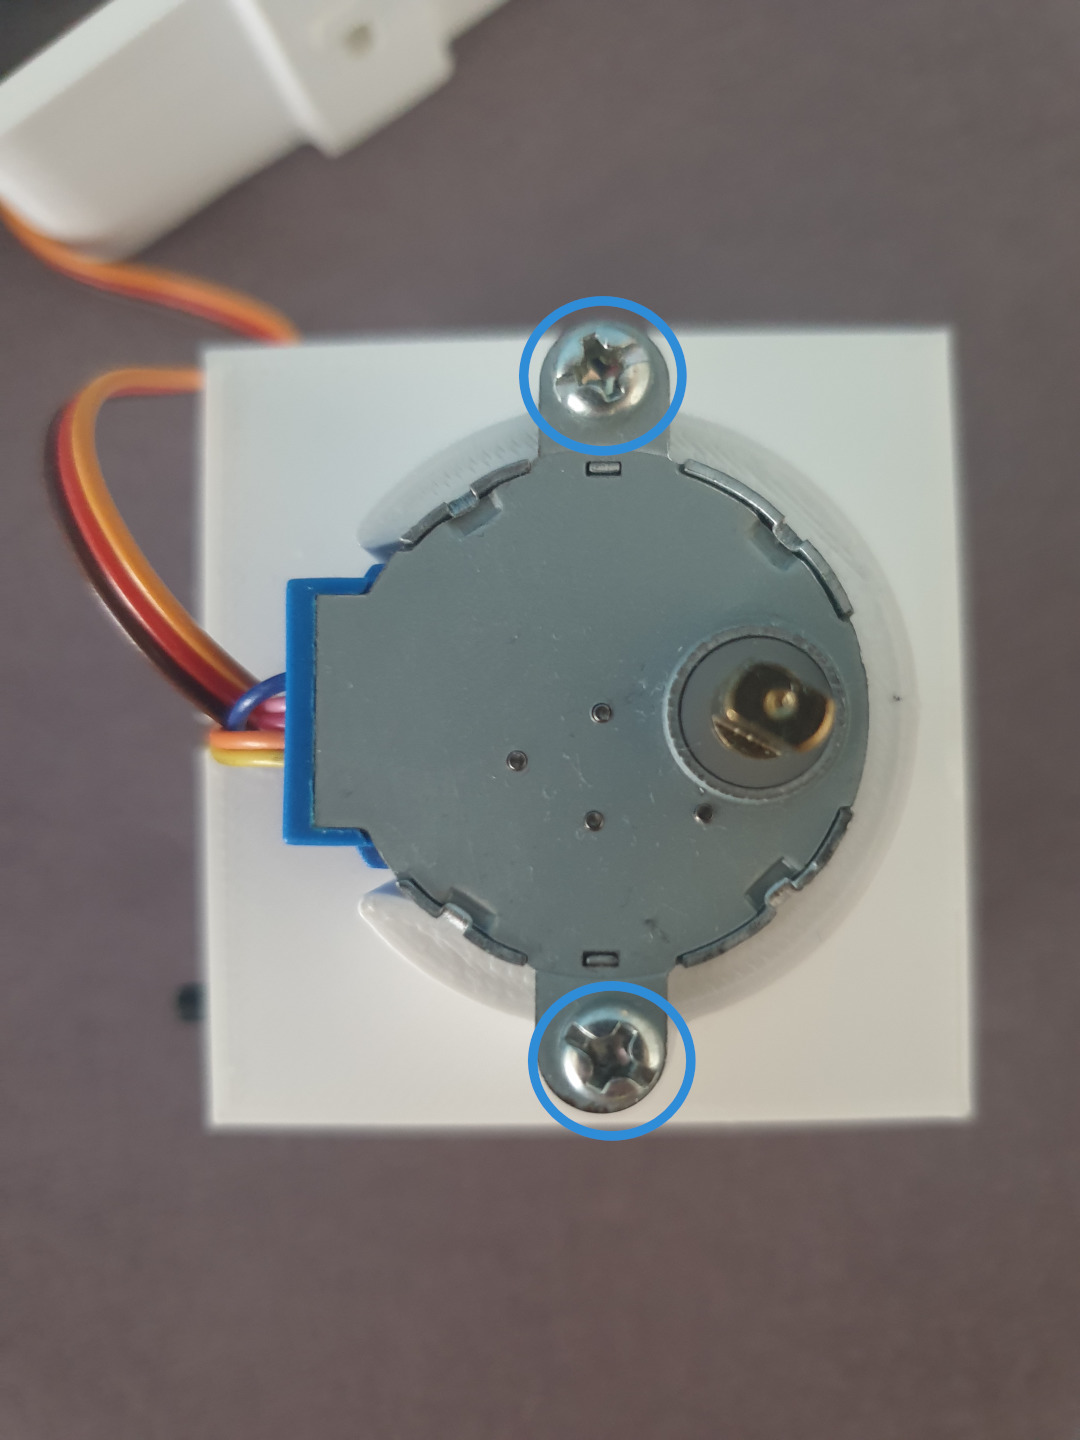
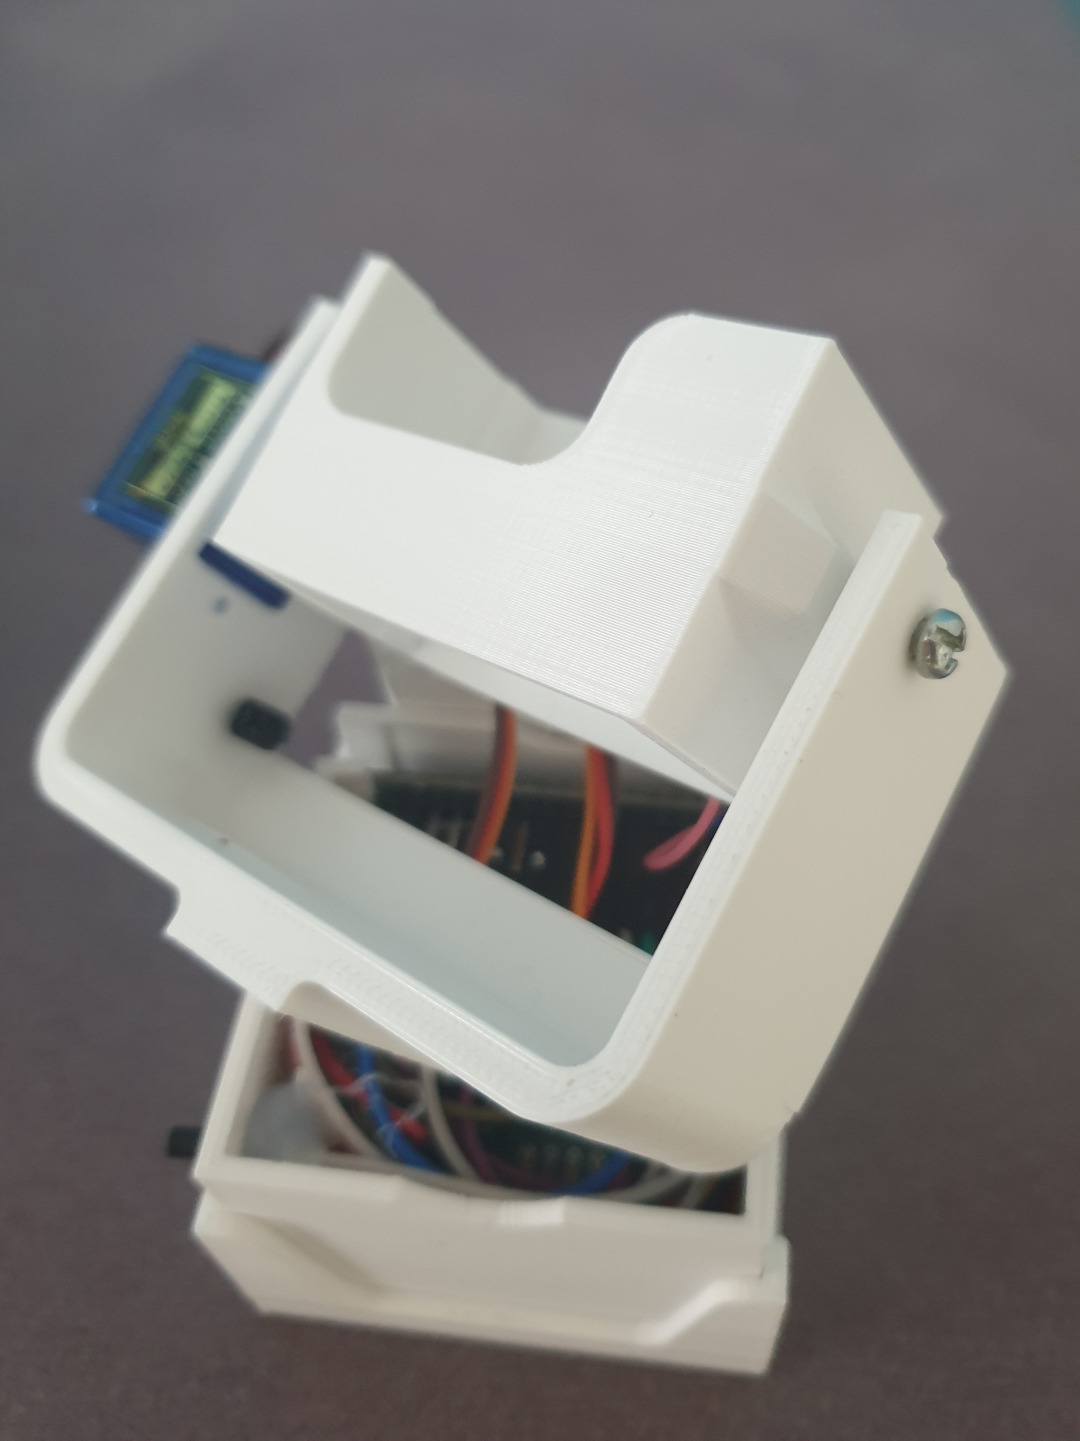
The connection of the stepper module and the servo is done according to the connection tables. I also connected the pushbutton to pin D7 and GND. This can be glued in the case for example with hot glue. It is used to start a 360° shot. Finally, the electronics are inserted into the housing and servo and stepper motor can be mounted in the brackets. I fixed the stepper motor with two of the screws. Another screw is screwed in opposite the servo as attachment of the GoPro mount (see photos).
| pin (NodeMcu) | pin (steppermodul) |
| D5 | IN1 |
| D3 | IN2 |
| D2 | IN3 |
| D1 | IN4 |
| GND | GND |
| 3V3 | VCC |
| pin (NodeMcu) | cable (servo) |
| D4 | orange cable |
| 3V3 | red cable |
| GND | brown cable |
Photos


Communication between ESP8266 and GoPro
The GoPro and the ESP8266 communicate with each other via WLAN. The microcontroller tries to connect to the GoPro’s WLAN after it is switched on.
To do this, I have previously read out the SSID, i.e. the name of the network and the password from the GoPro menu. SSID and password must be used in the program code for YOURSSID and YOURPASSWORD.
//USER BEGIN
const char *ssid = "YOURSSID";      //GoPro Wifi name (SSID)
const char *password = "YOURPASSWORD"; //GoPro WiFi password
const int photosPerTurn = 10; //Fotos pro Umdrehung
const int turnsPerPhoto = 3;  //Anzahl der Fotos in Y-Richtung
//USEREND
If the connection with the GoPro is successful, the built-in LED of the board turn off and a recording is started by pressing the button at pin D7.
Flash the code to the Arduino with the Arduino IDE or PlatformIO if SSID and password are adjusted to your GoPro.
Remember to change the used board in the Arduino IDE, as well as in PlatformIO to NodeMCU with ESP8266. Otherwise the code can not be flashed. In the Arduino IDE you can select the NodeMCU via Tools->Board->ESP8266 Board.
Code
I tested this script with a GoPro Hero 7 Black. With other GoPro models, the protocol for addressing the GoPro via WLAN may have to be modified. The protocol for communicating with many GoPro models via WLAN can be found in the Github-Repository of KonradIT.
#include <Arduino.h>
#include <Servo.h>
#include <Stepper.h>
#include <ESP8266WiFi.h>
#include <WiFiUdp.h>
#include <WakeOnLan.h>

//USER BEGIN
const char *ssid = "YOURSSID";      //GoPro Wifi name (SSID)
const char *password = "YOURPASSWORD"; //GoPro WiFi password
const int photosPerTurn = 10; //Fotos pro Umdrehung
const int turnsPerPhoto = 3;  //Anzahl der Fotos in Y-Richtung
//USEREND


WiFiClient client;
const char *host = "10.5.5.9";
const int httpPort = 80;

//Wake on Lan
WiFiUDP UDP;
WakeOnLan WOL(UDP);
IPAddress broadcastAdress = IPAddress(255, 255, 255, 0);

//Konstanten
const int delaylonger = 1200; //Time to wait for the execution of the setting
const int delaypos = 1000;    //Time to wait for beeing in a new position
const int delayPhoto = 3100;

const int stepperSpeed = 10;  //important for calculating the time of delay

//Servo
Servo servo1;

//Stepper
const int SPU = 2048;
Stepper step(SPU, D1, D3, D2, D5);

//Leds_button
const int led = D0;
const int start = D7;

//methods
void trigger();
void setPhotoMode();
void setPhotoWide();
void wakeUp();

void setup()
{
  Serial.begin(9600);
  pinMode(led, OUTPUT);
  pinMode(start, INPUT_PULLUP);
  servo1.attach(D4);
  servo1.write(150); //fahre in Grundposition
  step.setSpeed(stepperSpeed);

  //wifi
  WOL.setBroadcastAddress(broadcastAdress); //Wake on Lan
  delay(100);
  bool ledStatus = true;
  Serial.print("Connecting to ");
  Serial.println(ssid);
  WiFi.begin(ssid, password);
  // wait for wifi to connect
  while (WiFi.status() != WL_CONNECTED)
  {
    delay(500);
    digitalWrite(led, ledStatus);
    ledStatus = !ledStatus;
    Serial.print(".");
  }
  Serial.println("");
  Serial.println("WiFi connected");
  Serial.println("IP address: ");
  Serial.println(WiFi.localIP());
  //settings
  setPhotoMode();
  setPhotoWide();
  ledStatus = true;
  digitalWrite(led, ledStatus); //turn led of
}

void loop()
{
  if (!digitalRead(start))
  {
    digitalWrite(led, LOW);
    delay(1000);
    digitalWrite(led, HIGH);

    for (int j = 0; j < turnsPerPhoto; j++)
    {
      int servoPos = 180 - (j * 180 / (turnsPerPhoto - 1));
      servo1.write(servoPos); //divides the steps of the servo to the postions of the camera
      delay(delaypos);        //wait for the Servo
      for (int i = 0; i < photosPerTurn; i++)
      {
        if (j % 2 == 0)
          step.step(SPU / photosPerTurn);
        else
          step.step(-(SPU / photosPerTurn));
        delay(60 / stepperSpeed / photosPerTurn + 100);
        trigger();
        delay(delayPhoto);
      }
    }
    if (turnsPerPhoto % 2 == 1)
    {
      for (int i = 0; i < 3; i++)
      {
        //step.step(-682); //wenn ungerade anzahl fotos drehe zurück
        step.step(-SPU/4); //if odd photo number turn back
        delay(60 / stepperSpeed / photosPerTurn + 100);
      }
    }
  }
}

void trigger()//make a photo
{
  if (!client.connect(host, httpPort))
  {
    Serial.println("connection failed");
    return;
  }
  String url = "/gp/gpControl/command/shutter?p=1";
  Serial.println(" Click !");
  client.print(String("GET ") + url + " HTTP/1.1\r\n" +
               "Host: " + host + "\r\n" +
               "Connection: close\r\n\r\n");
  delay(delaylonger);
}

void setPhotoMode()
{
  if (!client.connect(host, httpPort))
  {
    Serial.println("connection failed");
    return;
  }
  String url = "/gp/gpControl/command/mode?p=1";
  Serial.println(" Click !");
  client.print(String("GET ") + url + " HTTP/1.1\r\n" +
               "Host: " + host + "\r\n" +
               "Connection: close\r\n\r\n");
  delay(delaylonger);
}

void setPhotoWide()
{
  if (!client.connect(host, httpPort))
  {
    Serial.println("connection failed");
    return;
  }
  String url = "/gp/gpControl/setting/17/0";
  Serial.println(" Click !");
  client.print(String("GET ") + url + " HTTP/1.1\r\n" +
               "Host: " + host + "\r\n" +
               "Connection: close\r\n\r\n");
  delay(delaylonger);
}

void wakeUp()
{
  const char *MACAddress = "06:41:69:B4:47:F1";

  WOL.sendMagicPacket(MACAddress); // Send Wake On Lan packet with the above MAC address. Default to port 9.
                                   // WOL.sendMagicPacket(MACAddress, 7); // Change the port number
}
Conclusion
You can now easily take pictures in all directions with the 360° camera mount. These images can then be stitched together with stitching software, such as Hugin, to create your own 360° image.
If all this is too complicated for you, then the Google Street View app might be something for you. With this app you can easily take 360° pictures with your smartphone and download them to your device. You can find the article about the app here.
Some more interesting articles
- Integrating Solax X3 Hybrid G4 API into Home Assistant

- Photo album the different way – How to turn a camera in a personal picture collection
- 3D-printer light with klipper