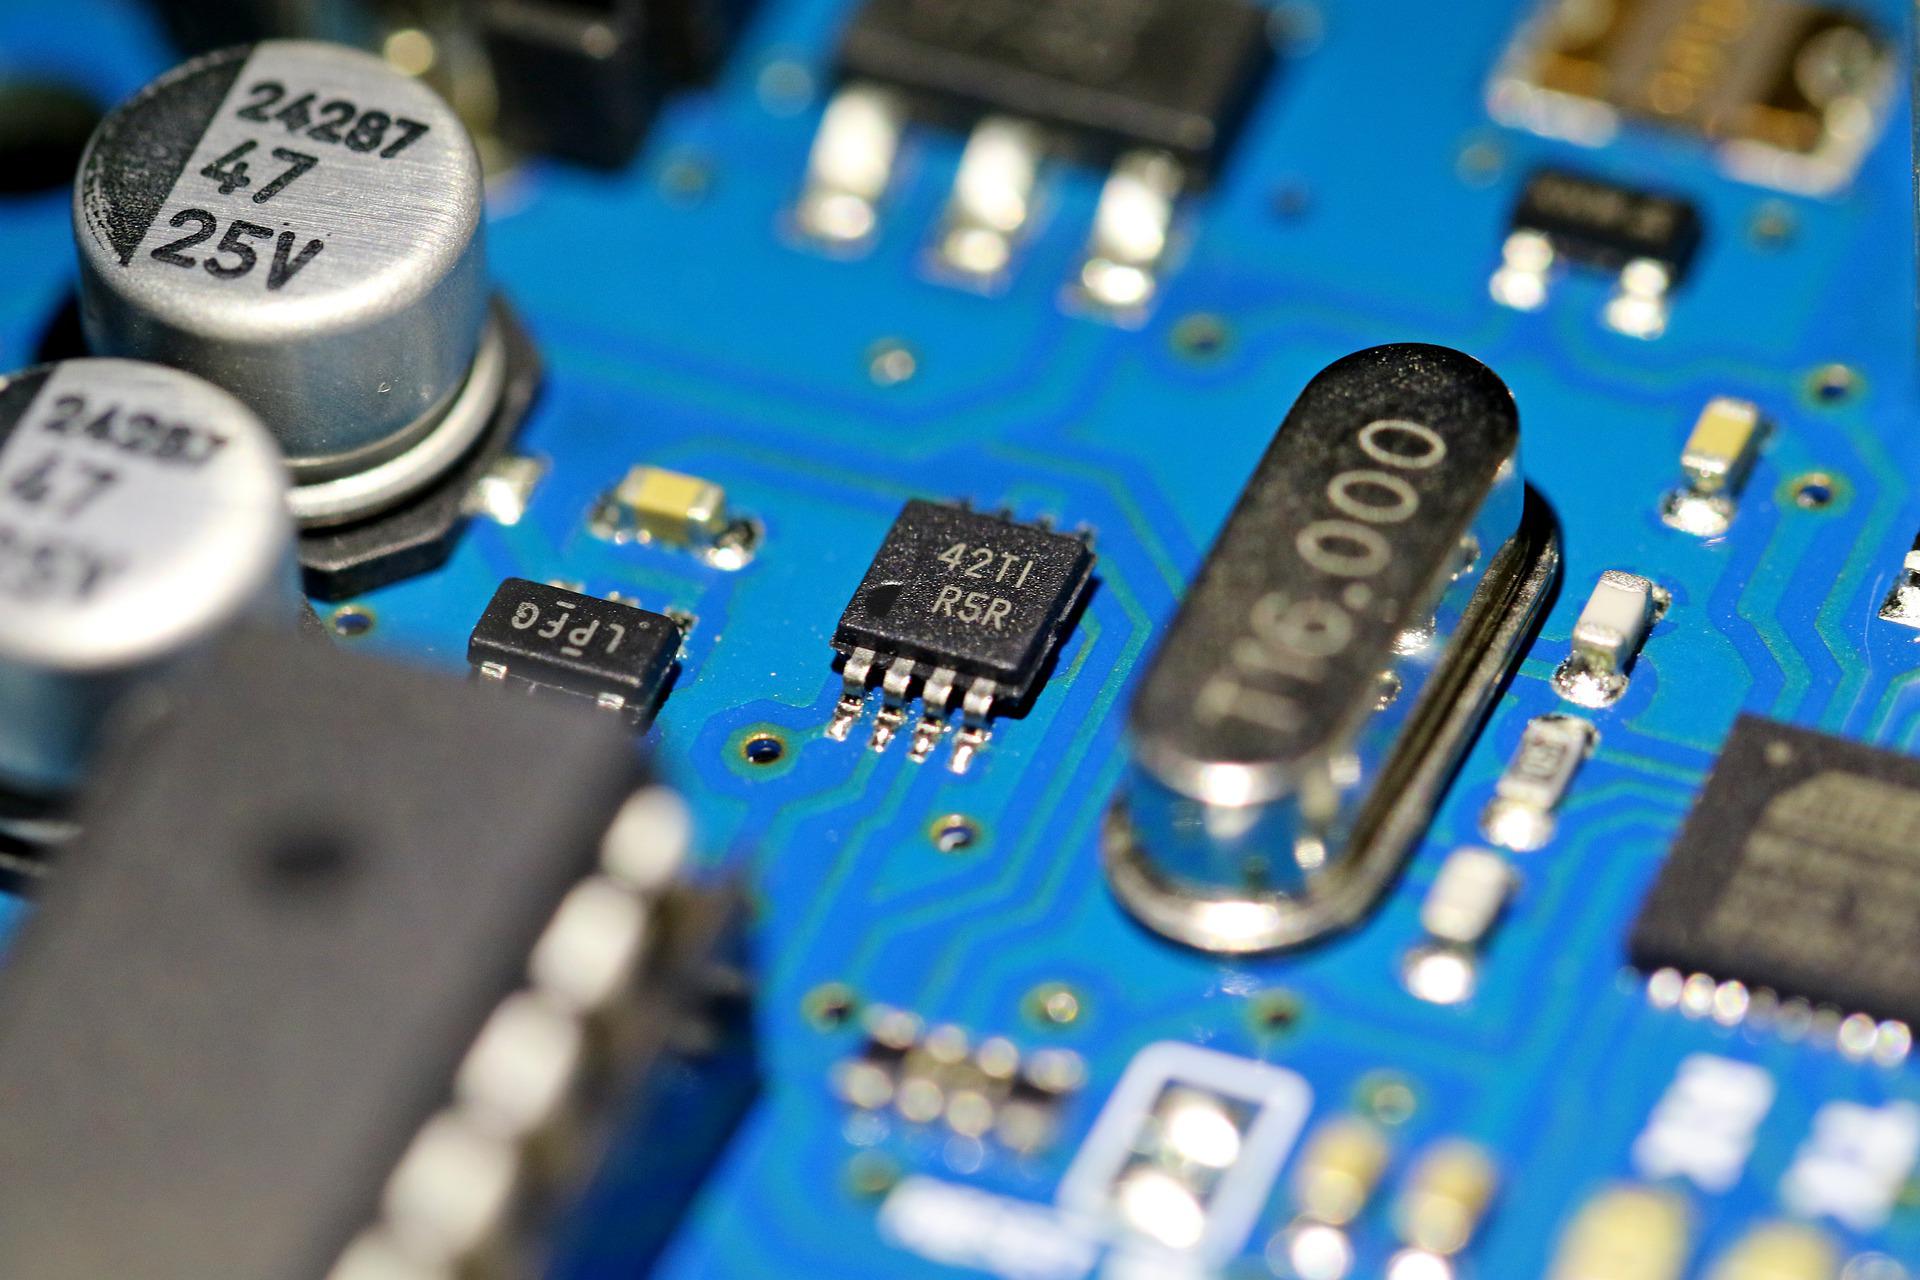
Are you running out of outputs when programming with the Arduino? Shift registers offer a remedy here and with the library Shift Registers a simple way to expand the outputs on the Microcotroller. The registers can be controlled in exactly the same way as with the Arduino Framework with digitalWrite().
The library for controlling several shift registers is available for download on Github. The library takes care of bit shifting and allows to connect several 74HC595 registers in series.
content
Connecting the shift register
The shift register is connected to the microcontroller. There are many instructions for this on the net. After the connection, the programming can be done with the help of the library shift register.
Using the library
First add the folder with the library to /Documents/Arduino/libraries/. This makes the library visible in the Arduino IDE. After the library has been added to /Documents/Arduino/libaries/ it can be included in the Arduino IDE with #include.
#include <shiftregister.h>In addition, you can now open a blink example directly under File – Examples. You can also find it at the end of this page.
Constructor
The register row is defined first. The first parameter is the number of registers connected in series. Then follow the pins SH_CP, ST_CP and DS to which the register is connected.
shiftregister register1(1, 8, 9, 10); //initilise an objekt of shiftregister: register(number of Registers, SH_CP, ST_CP, DS-Pin)Controlling shift register Pins
The method setPin can be used to control pins with pin number and desired status HIGH or LOW. The numbering of the pins on the shift register starts at one on the first pin of the register.
register1.setPin(1, HIGH); //Pin 1 is set to HIGHOutput pin status serially
printPinStatus() outputs the statuses of all registers in series via the serial monitor. This can help with troubleshooting.
register1.printPinStatus(); //Method to display all values of a shift register arrayQuery pin status
This method returns the pin status of a pin on the register.
register1.getPinStatus(2);//output the pin status at pin 2The getPinStatus() and printPinStatus() methods return only the status specified by the setPin() method. Own changes to the control at the shift register are not output.
Documentation
On Github you can also find a pdf-documentation of the library with all methods and corresponding explanations.
Blink example
/* Libary: shiftregister, blink

    The functions of a shift register should be easier to use.
    - simple creation of shift registers
    - easy retrieval of all data
    - less visible programming effort --> fewer errors

Source: makeandcreate.4lima.de
GitHub: https://github.com/lk-16/shiftregister
*/


#include <shiftregister.h> //include into libary


shiftregister register1(1, 8, 9, 10); //define an object of class shiftregister:
//register(number of Registers, SH_CP, ST_CP, DS-Pin).

void setup()
{
  Serial.begin(9600);

}
void loop()
{
  register1.setPin(1, HIGH); //Method to switch a pin on or off
  delay(250);
  register1.printPinStatus(); //method to display all values of a shift register array
  register1.setPin(1, LOW); //....setPin(PinNo. , newValue)
  delay(250);
  register1.printPinStatus(); //Method to display all values of a shift register array

  Serial.println(register1.getPinStatus(2));//method to read out pins
}
Some more interesting articles
- Integrating Solax X3 Hybrid G4 API into Home Assistant

- Photo album the different way – How to turn a camera in a personal picture collection
- 3D-printer light with klipper